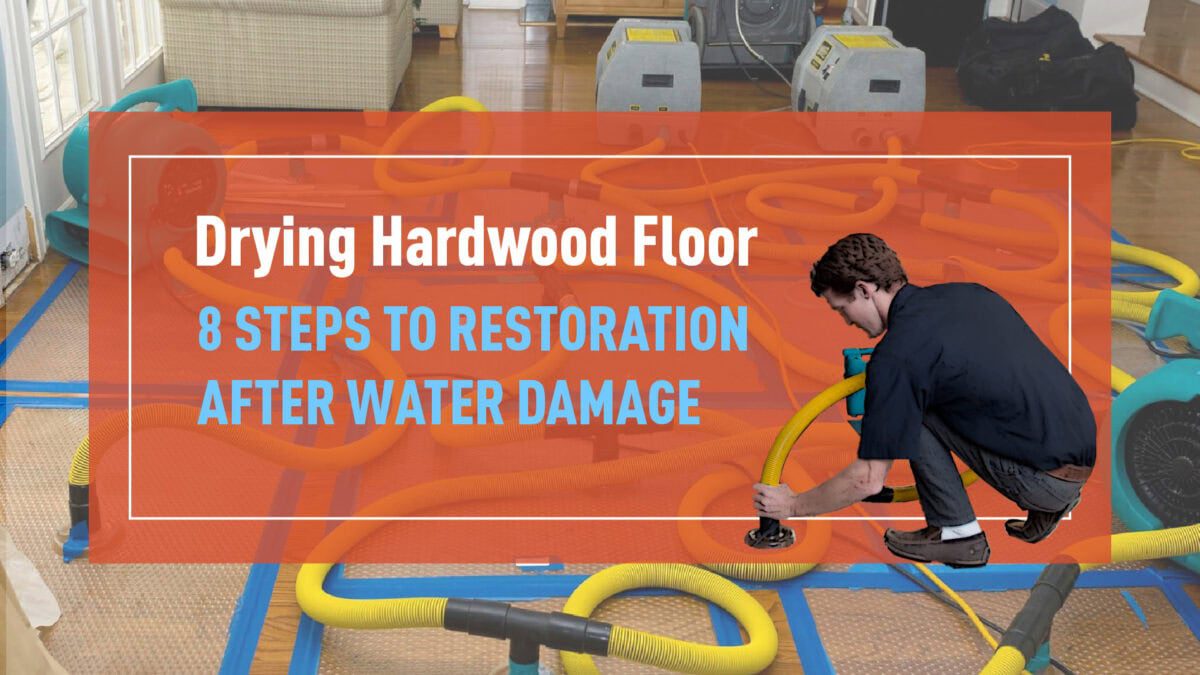
8 Steps to Dry Wet Hardwood Floors
Hardwood floors are a beautiful and practical addition to your home, but they can be vulnerable to damage from water-related incidents. Flooding caused by leaky roofs, broken pipes, or overflowing toilets can quickly turn your lovely wood flooring into a warped, mold-prone mess if not addressed promptly. Knowing how to dry wet hardwood floors effectively is crucial to prevent this kind of damage.
While finished hardwood floors have some water-resistant properties, they are not entirely impervious to moisture. Immediate action is crucial after any flooding event to prevent irreversible damage, like cupping, which requires floor replacement.

If you’re facing water damage in San Diego, consider calling certified water damage restoration companies to help mitigate the situation. However, if you prefer a DIY approach, follow this comprehensive guide to dry your hardwood floors effectively.
How to Dry Wet Hardwood Floors
Step 1: Clear the Area
Begin by removing all furniture and rugs from the affected area. Wet rugs and furniture can release moisture back onto the wood, prolonging the drying process. If possible, place them outside in the sun to dry. If that’s not an option, set them on durable flooring like concrete or tile
Step 2: Eliminate Excess Water
Next, soak up as much standing water as possible. Use towels, rags, or a mop to remove visible moisture. Make sure to wring out and clean these items thoroughly afterward.
After soaking up the surface water, use a wet vacuum to extract any hidden moisture from the hardwood. A wet vacuum is specialized equipment found at home repair stores that effectively removes water without damaging the wood. Keep using it until no water remains visible, and the vacuum canister is empty.
Step 3: Clean the Surface
Once you’ve removed excess water, clean the hardwood floor with a disinfectant that doesn’t produce suds. Use a gentle brush to avoid scratching the surface. Allow the disinfectant to sit as per the product instructions, then rinse with a well-wrung mop and clean water. Finish by using dry cloths or a wet vacuum to eliminate any remaining moisture.
Step 4: Fully Dry the Area
Even if the surface looks dry, moisture can linger deep within the wood. Place a professional-grade dehumidifier in the center of the room and run it on the highest setting for at least 24 hours. If you don’t have one, you can rent one from local home repair stores.
While the dehumidifier operates, position several large fans around the room to increase airflow, helping the dehumidifier work more effectively. If the weather permits, open windows and doors slightly to let additional moisture escape.
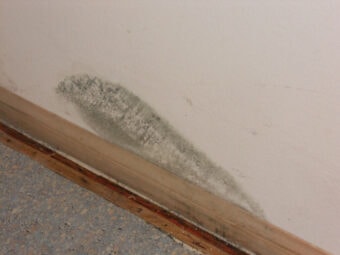
Step 5: Inspect for Mold and Mildew
Moist environments can quickly foster mold growth, which can develop within 24 to 48 hours of exposure. Regularly check your hardwood floors for signs of mold or mildew. If you notice any suspicious spots, scrub them with a baking soda and water solution, and use a wet vacuum to absorb excess moisture.
If mold persists, it’s best to consult a professional for mold remediation in San Diego.
Step 6: Test for Moisture
Even after following the above steps, hidden moisture may still remain. Use a moisture testing meter from your local hardware store to monitor the drying status. It can take days to weeks for hardwood floors to dry completely, so check daily until the meter indicates no remaining moisture.
Step 7: Assess the Damage
Once the floor has dried, assess the extent of the damage. If you acted quickly, your flooring might be fine. However, if warping or discoloration has occurred, consult a professional for repair or refinishing options.
Step 8: Call for Professional Help
Removing water and moisture from hardwood floors can be time-consuming and challenging. If you’re overwhelmed, don’t hesitate to contact water damage restoration companies in San Diego for expert assistance.
How Certified Restoration Can Help

Need Help Now? Certified Restoration has over 30 years of experience in restoring water-damaged hardwood floors in San Diego. We respond swiftly to minimize damage, significantly lowering the chances of needing a complete replacement.
Our team will arrive within an hour of your call, ready for 24/7 emergency water restoration. We handle all sizes of jobs, so don’t hesitate to reach out.
Innovative Drying Solutions
Certified Restoration uses the Injectidry system, an advanced method for drying hardwood floors effectively. This equipment creates negative airflow to pull water out from the deepest layers of your flooring, saving you money on potential replacements.
In conclusion, drying wet hardwood floors promptly is crucial to avoid long-term damage. By following the steps outlined above, you increase your chances of successfully restoring your floors. If your situation is severe, consider contacting a professional for specialized assistance. Protect your investment in beautiful hardwood floors today!